OBS的插件-画板实现(基于Qt)
简介
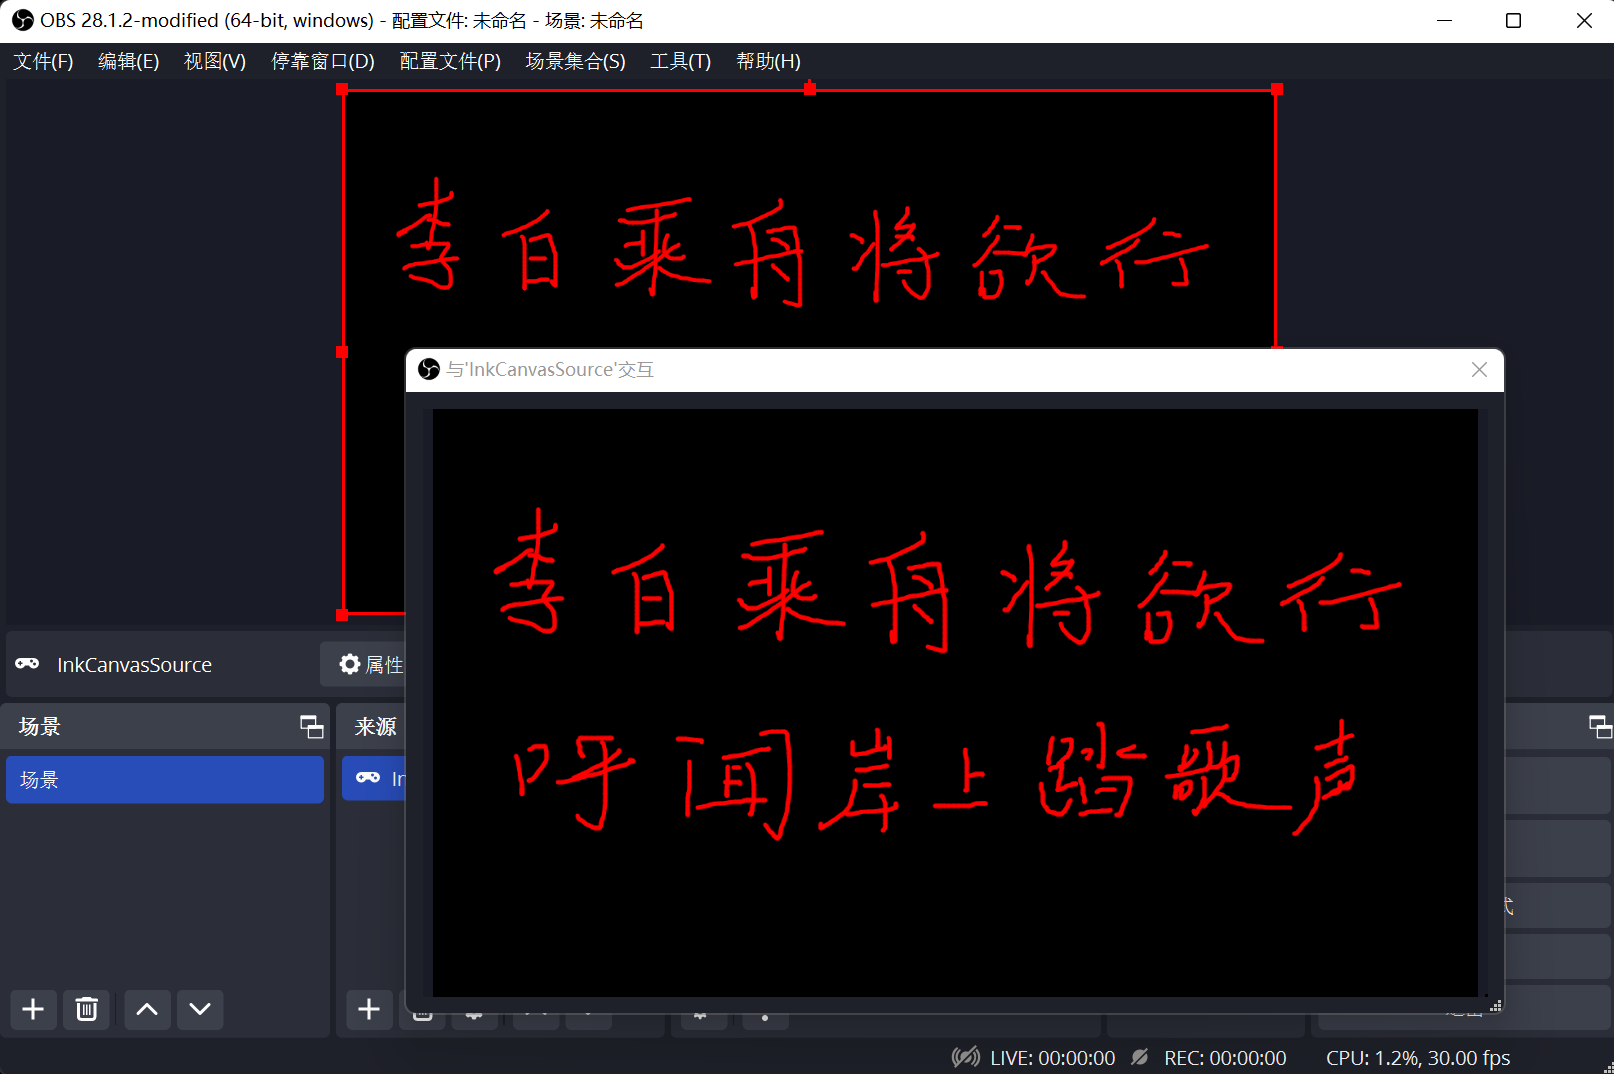
OBS基于OpenGL和D3D11实现了一个通用的图形库,可以利用这个图形库来实现简单的画板,至于更复杂的画板实现的原理也是一样的。实现图如下。
原理
说明一下,因为OBS自带的做图非常麻烦且无法满足要求,这里使用Qt自带的QPainter进行内存做画,然后输出RGBA像素数据。
在使用插件之前我们要对插件进行注册
|
1 2 3 4 5 6 7 8 9 10 11 12 13 14 15 16 17 18 19 20 21 22 23 24 25 26 27 28 |
static void RegisterInkCanvasSource() { struct obs_source_info info = {}; info.id = "ink_canvas_source"; info.type = OBS_SOURCE_TYPE_INPUT; info.output_flags = OBS_SOURCE_ASYNC_VIDEO | OBS_SOURCE_INTERACTION | OBS_SOURCE_DO_NOT_DUPLICATE | OBS_SOURCE_SRGB; ... info.mouse_click = [](void *data, const struct obs_mouse_event *ev, int32_t type, bool mouse_up, uint32_t click_count) { ... }; info.mouse_move = [](void *data, const struct obs_mouse_event *ev, bool mouse_leave) { ... }; obs_register_source(&info); } bool obs_module_load(void) { RegisterInkCanvasSource(); return true; } |
实现方式一:obs_source_output_video
使用异步视频源,注意插件的output_flags使用OBS_SOURCE_ASYNC_VIDEO这个标志,当画面需要更新时,使用obs_source_output_video将帧输出源中。
大致代码如下:
|
1 2 3 4 5 6 7 8 9 10 11 12 13 14 15 16 17 18 19 20 21 22 23 24 25 26 27 28 29 30 31 32 33 34 35 36 37 38 39 40 |
QPoint last = QPoint(), moved = QPoint(); void mousePress(QPoint p) {// 起笔 last = p; } void mouseMove(QPoint p) {// 移动绘制 QPainter p(&image); moved = p; p->drawLine(last, moved); updateRect(QRect(last, moved); last = moved; moved = QPoint(); } void mouseRelease() {// 收笔 last = QPoint(); last = QPoint(); } // 当需要更新时输出视频帧 void updateRect(QRect rt) { obs_source_frame frame; memset(&frame, 0, sizeof(frame); frame.width = image.width(); frame.height = image.height(); frame.format = VIDEO_FORMAT_RGBA; m_frame.linesize[0] = image.width() * 4; m_frame.data[0] = (uint8_t *)m_backImage.constBits(); obs_source_output_video(m_source, &m_frame); } |
上述代码很好地展示了绘制后立即输出到源上,但上面的代码有一定的性能问题。
问题:当鼠标事件瞬时非常多时,会出现fps过高导致CPU和内存暴涨,那么这时候,我们可以加一个定时器解决,比如我们限定最多30fps。
|
1 2 3 4 5 6 7 8 9 10 11 12 13 14 15 16 17 18 19 20 21 22 23 24 25 26 27 28 29 30 31 32 33 34 |
QTimer updateTimer; bool timerInited = false; QRect dirtyRect; // 当需要更新时输出视频帧 void updateRect(QRect rt) { dirtyRect = dirtyRect.united(rt); // 求并集 if (updateTimer.isActive()) { return; } if (!timerInited) { updateTimer.setSingleShot(true); // 只触发一次 connnect(&updateTimer, &QTimer::timeout, this, [](){ obs_source_frame frame; memset(&frame, 0, sizeof(frame); frame.width = image.width(); frame.height = image.height(); frame.format = VIDEO_FORMAT_RGBA; m_frame.linesize[0] = image.width() * 4; m_frame.data[0] = (uint8_t *)m_backImage.constBits(); obs_source_output_video(m_source, &m_frame); dirtyRect = QRect(); }); timerInited = true; } updateTimer.start(33); // 33ms } |
我们修改了updateRect代码,使得将更新的频率固定住,这样不管鼠标事件多么的多,我们最多只会33ms更新一次(fps=30)。
上面的代码看上去比之前还要好了,但还是有优化的空间,因为每一次更新的是局部图片,但是输出却是完整的像素,会重复拷贝内存像素数据到显存,分辨率较小时体现不出来,一是分辨率稍微大一点也会有严重的内存和CPU性能问题,此时这种方法已经无法满足要求了。
实现方式二:使用纹理
第一种方式使用了异步视频源,这种方式在需要的时候输出帧就可以了,但是有一定的性能问题,那么可以可以使用纹理贴图的方法。如果要使用纹理贴图我们首先要指定插件的渲染回调函数。
|
1 2 3 4 5 6 7 8 9 10 11 12 13 14 15 16 |
static void RegisterInkCanvasSource() { struct obs_source_info info = {}; .... info.video_render = [](void *data, gs_effect_t *effect) { VideoRender(data,effect); }; obs_register_source(&info); } bool obs_module_load(void) { RegisterInkCanvasSource(); return true; } |
接下来,我们将将内存数据贴到纹理上。
|
1 2 3 4 5 6 7 8 9 10 11 12 13 14 15 16 17 18 19 20 21 22 23 24 |
void InkCavasSource::VideoRender(gs_effect *effect) { char *buffer; // 如果纹理为nullptr,那么进行初始化 if (texure == nullptr) { obs_enter_graphics(); buffer = (char *)m_image.constBits(); m_texure = gs_texture_create(width, height, GS_RGBA, 1, (const uint8_t **)&buffer, GS_DYNAMIC); obs_leave_graphics(); } buffer = (char *)m_image.constBits(); if (!dirtyRect.isEmpty()) { gs_texture_set_image(texure, (const uint8_t *)buffer, width * 4, false); dirtyRect = QRectF(); } .... gs_eparam_t *const param = gs_effect_get_param_by_name(effect, "image"); gs_effect_set_texture_srgb(param, texure); gs_draw_sprite(texure, 0, width, height); ... } |
这样就实现了对纹理的贴图,但是上面的方法还有一个性能问题。问题在于,只要渲染就将所有像素数据拷贝到显存,显然是没有必要的。我们应该使用局部更新,在需要更新的时候将那些需要更新的像素拷贝到显卡。也就是dirtyRect那个部分。很遗憾的事OBS没有这个接口,所以我们自己实现一个。
在实现之前我们看一下全局更新的代码,gs_texture_set_image如下。
|
1 2 3 4 5 6 7 8 9 10 11 12 13 14 15 16 17 18 19 20 21 22 23 24 25 26 27 28 |
void gs_texture_set_image(gs_texture_t *tex, const uint8_t *data, uint32_t linesize, bool flip) { ... if (!gs_texture_map(tex, &ptr, &linesize_out)) return; row_copy = (linesize < linesize_out) ? linesize : linesize_out; height = gs_texture_get_height(tex); if (flip) {// 是否翻转拷贝 uint8_t *const end = ptr + height * linesize_out; data += (height - 1) * linesize; while (ptr < end) { memcpy(ptr, data, row_copy); ptr += linesize_out; data -= linesize; } } else if (linesize == linesize_out) { // 行大小是否一样 memcpy(ptr, data, row_copy * height); } else { // 按行拷贝 uint8_t *const end = ptr + height * linesize_out; while (ptr < end) { memcpy(ptr, data, row_copy); ptr += linesize_out; data += linesize; } } gs_texture_unmap(tex); } |
通过观察代码,我们看到obs使用内存映射的方式进行拷贝,并且区分了是否翻转,这里我们没有这个需求,正着拷贝就可以了,所以我们就可以按照上面的方式使用局部拷贝。核心操作无非就是按行复制,需要注意整张图的行大小和局部矩形的行大小,以及起始地址的对齐。
|
1 2 3 4 5 6 7 8 9 10 11 12 13 14 15 16 17 18 19 20 21 |
void gs_texture_set_image(gs_texture_t *tex, const uint8_t *data, uint32_t x, uint32_t y, uint32_t cx, uint32_t cy, uint32_t linesize) { ... if (!gs_texture_map(tex, &ptr, &linesize_out)) return; row_copy = (linesize < linesize_out) ? linesize : linesize_out; height = gs_texture_get_height(tex); ptr = ptr + y * linesize_out + x * 4; //起始位置 uint8_t *const end = ptr + y + cy * linesize_out; // 结束位置 while (ptr < end) { memcpy(ptr, data, row_copy); ptr += linesize_out; data += linesize; } gs_texture_unmap(tex); } |
然后在调用的时间传入dirtyRect就可以了。
|
1 2 3 4 5 6 7 8 9 10 11 12 13 14 15 |
void InkCavasSource::VideoRender(gs_effect *effect) { .... buffer = (char *)m_image.constBits(); if (!dirtyRect.isEmpty()) { int x = dirtyRect.x(); int gs_texture_set_sub_image(m_texure, (const uint8_t *)buffer, dirtyRect.x(), dirtyRect.y(), dirtyRect.width(), dirtyRect.height(), width * 4, false); dirtyRect = QRectF(); } .... } |
到此,所以优化就结束啦。
实现
代码整理中,即将扩充各种图形,联系nie950@gmail.com
